

- January 23, 2020
- Posted by: Steffy D
- Category: Digital Assurance

Introduction
Test Automation refers to automating the testing process of applications. Katalon Studio is one of the popular tools software testing companies use to automate web and mobile applications. In this tutorial, we will be seeing how to get started with the tool.
Tool Description
Katalon studio is an open source automation tool which can be used for testing web, mobile application and API testing.
It is developed on top of the open source automation frameworks such as selenium and appium.
Groovy, Java and JavaScript are the main scripting language which can be used to write script in Katalon studio.
Katalon script runs in all modern browsers. Test reports will be generated in the Katalon studio once the script completes its execution. These reports can be exported as HTML, PDF…etc.
Indium follows a process-oriented approach for the successfull deployment of Test Automation
Read More
Dependencies Required for Mobile Automation Using Katalon Studio
● Katalon Studio
● js
● Appium
● Android device with enabled developer mode and Android sdk
Need of Appium and Node.js
Appium is a server written in Node.js. This is used to automate hybrid and native mobile applications.
Appium handles multiple webdriver sessions. This provides cross platform testing i.e. it works for both android and ios apps.
This is used to translate webdriver commands to UIAutomator or UIAutomation depending on the device type.
Since Appium written in Node.js, we need node to run it .So it is required to install node.js. Node.js is a JavaScript runtime environment which can be used to execute JavaScript from outside the browser.
Install Katalon Studio
Please follow this link https://katalon.com/download/#free to download and install Katalon studio.
Install Node.js
Please follow this link https://nodejs.org/en/download/ to download and install Node.js.
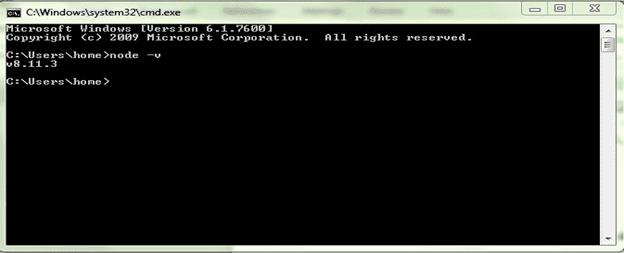
Installed Node.js version can be found using the command: Refer the Fig 1.
‘node –v’

Install Appium
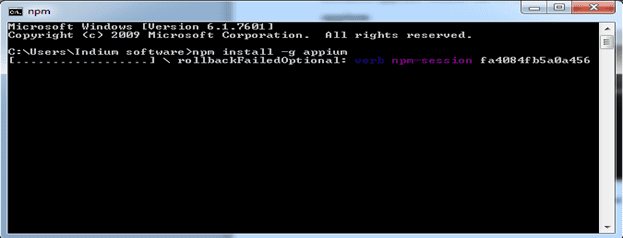
Command to install Appium: Refer the Fig 2
npm install -g appium
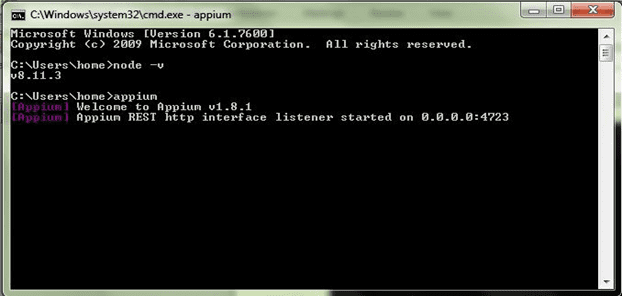
Installed appium version can be found using this command: Refer the Fig 3
appium


Configuration
Set the appium directory settings in Katalon studio.
● Open Katalon Studio
Windows>> Katalon Studio Preferences >> Katalon >> Mobile
● Here, set AppiumDirectory folder and it looks like
‘C:\Users\Indium software\AppData\Roaming\npm\node_modules\appium’
- Enable Developer Mode in your real device
- Install USB driver for your device in your system.
- First check whether the developer option is enabled in your device or not.
Go to Settings>>Developer options.
- If developer options is not available,
Go to Settings>>About phone>>Build number
Tap this build number for seven times to enable developer options.
- Then come back to settings and click on developer options to enable USB debugging mode.
- It displays popup message with title “Allow USB debugging?” click ok button to enable the USB debugging mode.
Across Various devices and platforms, Indium is your one stop solution. Click Here to learn more about our Mobile App Testing Services
Read More
Creation of Test script
Katalon studio provides two ways to create a mobile test automation test script.
Record Mobile
Record mobile option is available in the Katalon studio main tool bar. This option is used to record each and every mobile activity.
This will generate the script based on recorded activity. Refer Fig 4 to locate Record mobile option available in the Katalon studio.


Steps to create test script using Record Mobile
Step 1: Click Record Mobile option from main toolbar.
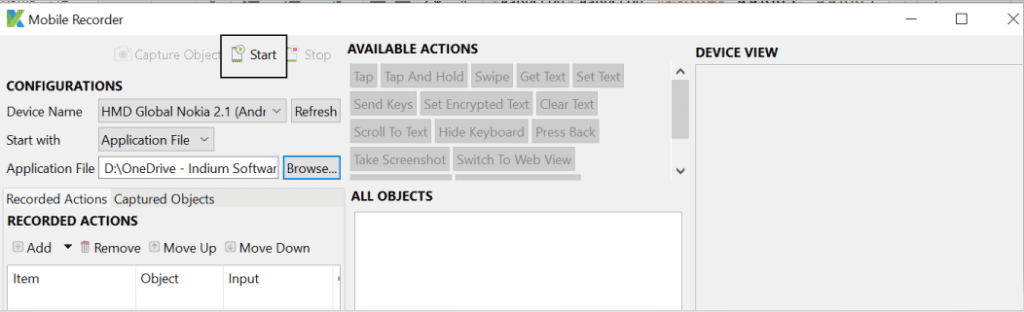
Step 2: Mobile Recorder dialog box is displayed. Refer the Fig 5


Step 3: Connect the device to your system. Popup message will be displayed in your device with title “Allow USB debugging?” click OK and then click refresh in the Katalon studio to see your mobile name in the device name drop down.
Step 4: Locate your application file (.apk) from the system by browsing the files in the system.
Step 5: Click start icon to start recording the mobile activities. Refer the Fig 6

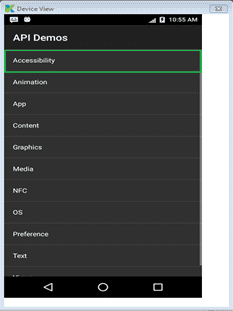
Step 6: Device view dialog box shows the image of your device. Refer the Fig 7


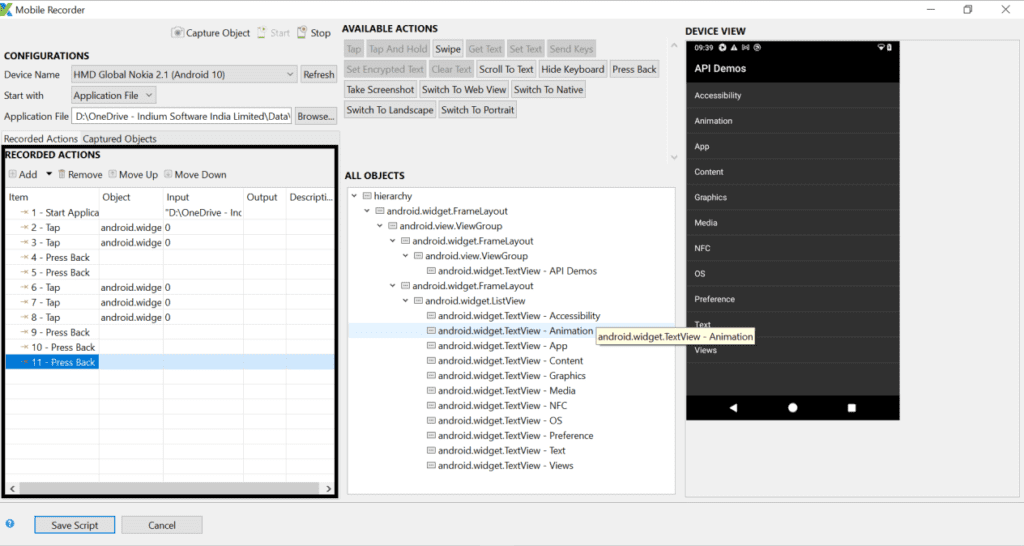
Step 7: Click on any one object from device view and select required action from available actions section. Refer the Fig 8

Step 8: Actions captured during recording can be found in the recorded action section. Refer the Fig 9

Step 9: Once recording is done, Click on Save Script to save the recording and select the folder to save new test case Fig 10. The appropriate test steps will be generated as shown in Fig 11.

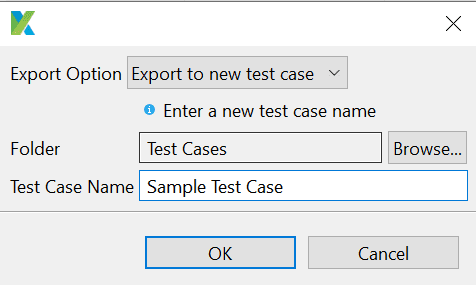

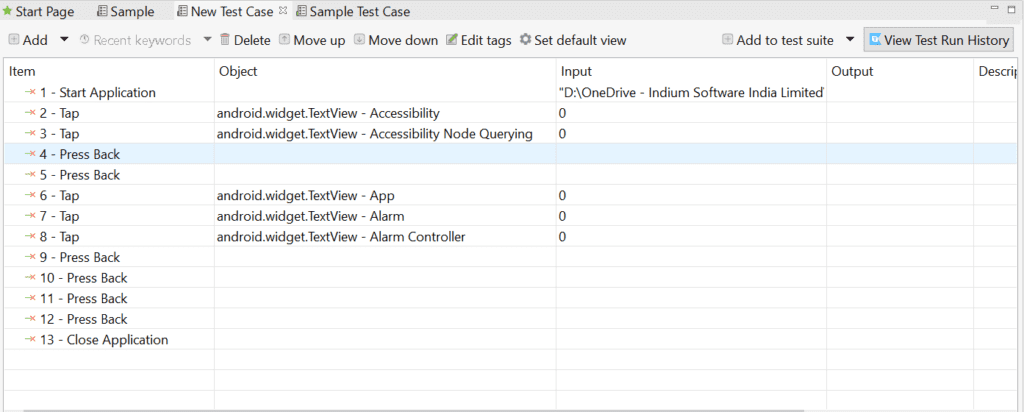 Fig11: Generated Test Case Script
Step 10: Click Run and select your device from the list to execute the test case. Each step defined in the test script will be executed in the connected device.
Spy Mobile
Spy mobile option is available in the Katalon studio main toolbar. This option is used to capture test object available in the mobile application.
With the help of the captured objects, a test script can be created using manual mode. Refer the Fig 12 below to locate Spy mobile option available in the Katalon studio.


Steps to capture test objects using Spy Mobile
Step 1: Connect the device to your system and click on Spy Mobile option.
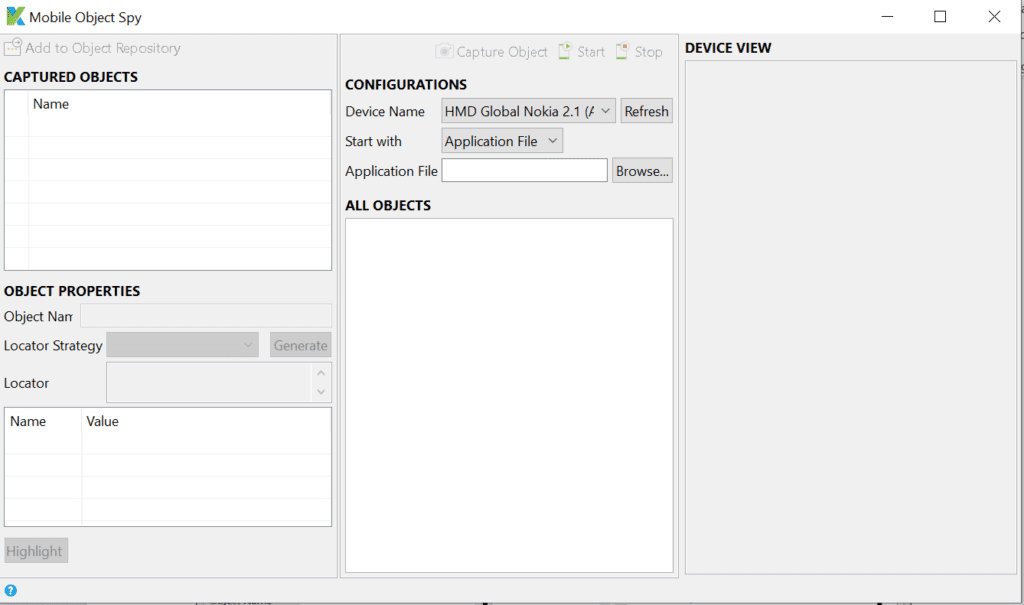
Step 2: Mobile Object spy dialog box will be displayed. Refer the Fig 13.

Step 3: Connect your device and select your device name from the dropdown. Click start icon to launch the application in your device.
Is Your Application Secure? We’re here to help. Talk to our experts Now
Inquire Now
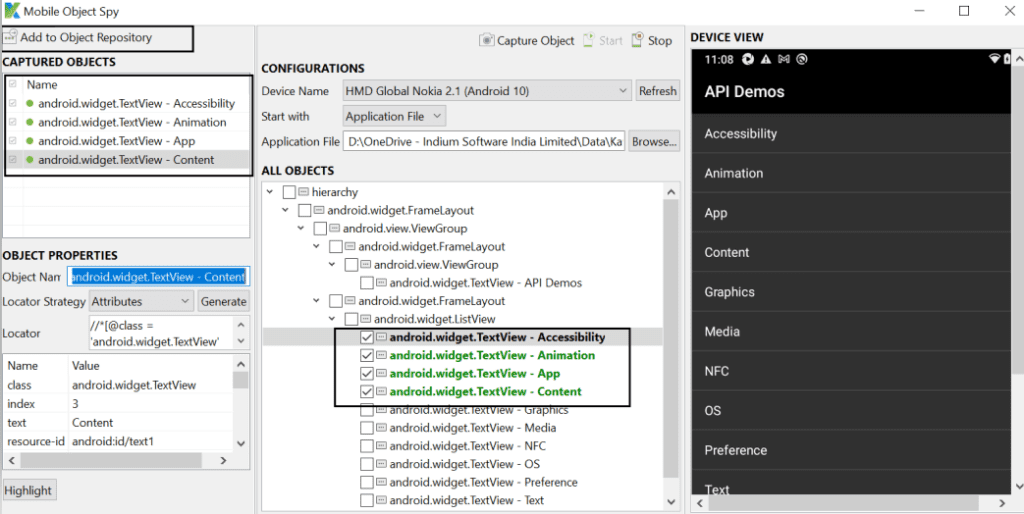
Step 4: Once the application is launched, the entire test objects in the device view will be displayed as a hierarchical view in the all objects section. Refer the Fig 14.


Step 5: If you want to add any object in to object repository, then select that object from the hierarchical view and click ‘Add’ to Object Repository button which is located at the top left corner of the object spy dialog box. Refer the Fig 15.

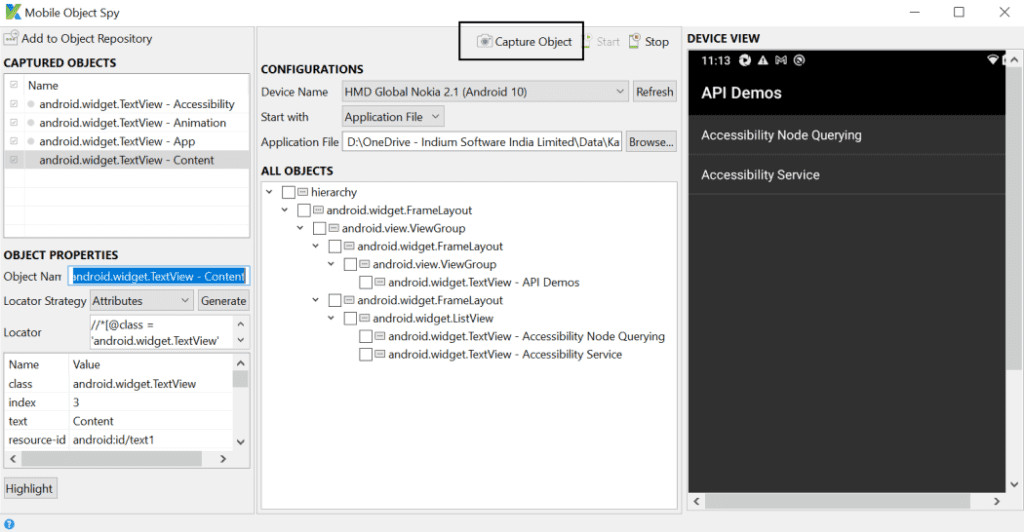
Step 6: If you want to capture objects in the next screens of the application, navigate to the next screen in the mobile and click the capture object button in mobile object spy, which will give you the screenshot of the next screen in the device view. Refer the Fig 16

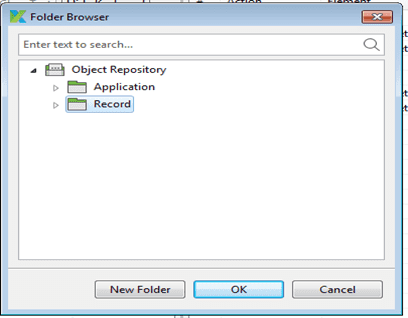
Step 7: Once you have captured required objects, captured objects can be saved to the object repository. Katalon studio gives you the option to save the objects in your preferred folder. Click Add to Object Repository button, which is located at the top left corner of the object spy dialog box, select your preferred folder, and click the Ok button to add the object to OR.. Refer the Fig 17

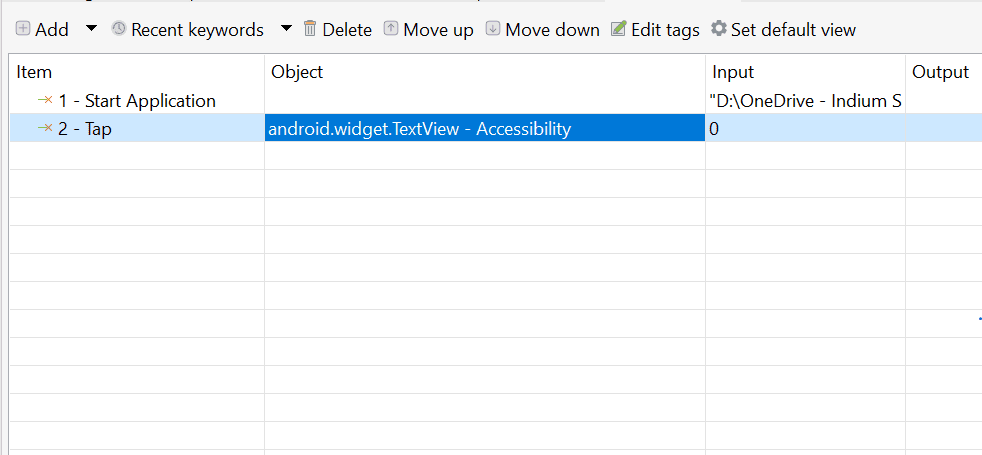
Step 8: Create a new test case and Add Mobile Keywords to start writing a test case for Mobile.

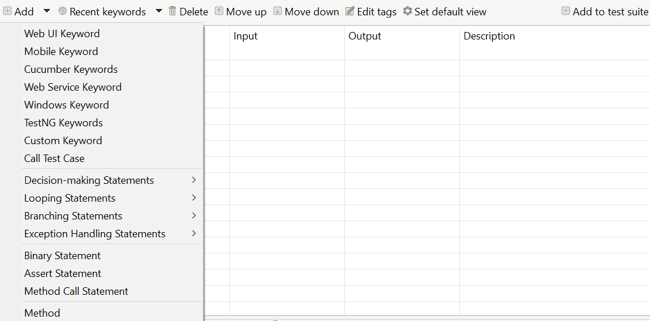
Step 9: Click on Add button to add the required mobile test step keywords. Input data can be given in the Input column. Required objects can be selected from the object repository, which will be displayed in object column Ref Fig 19. Once test steps are updated in manual mode, save the test case.